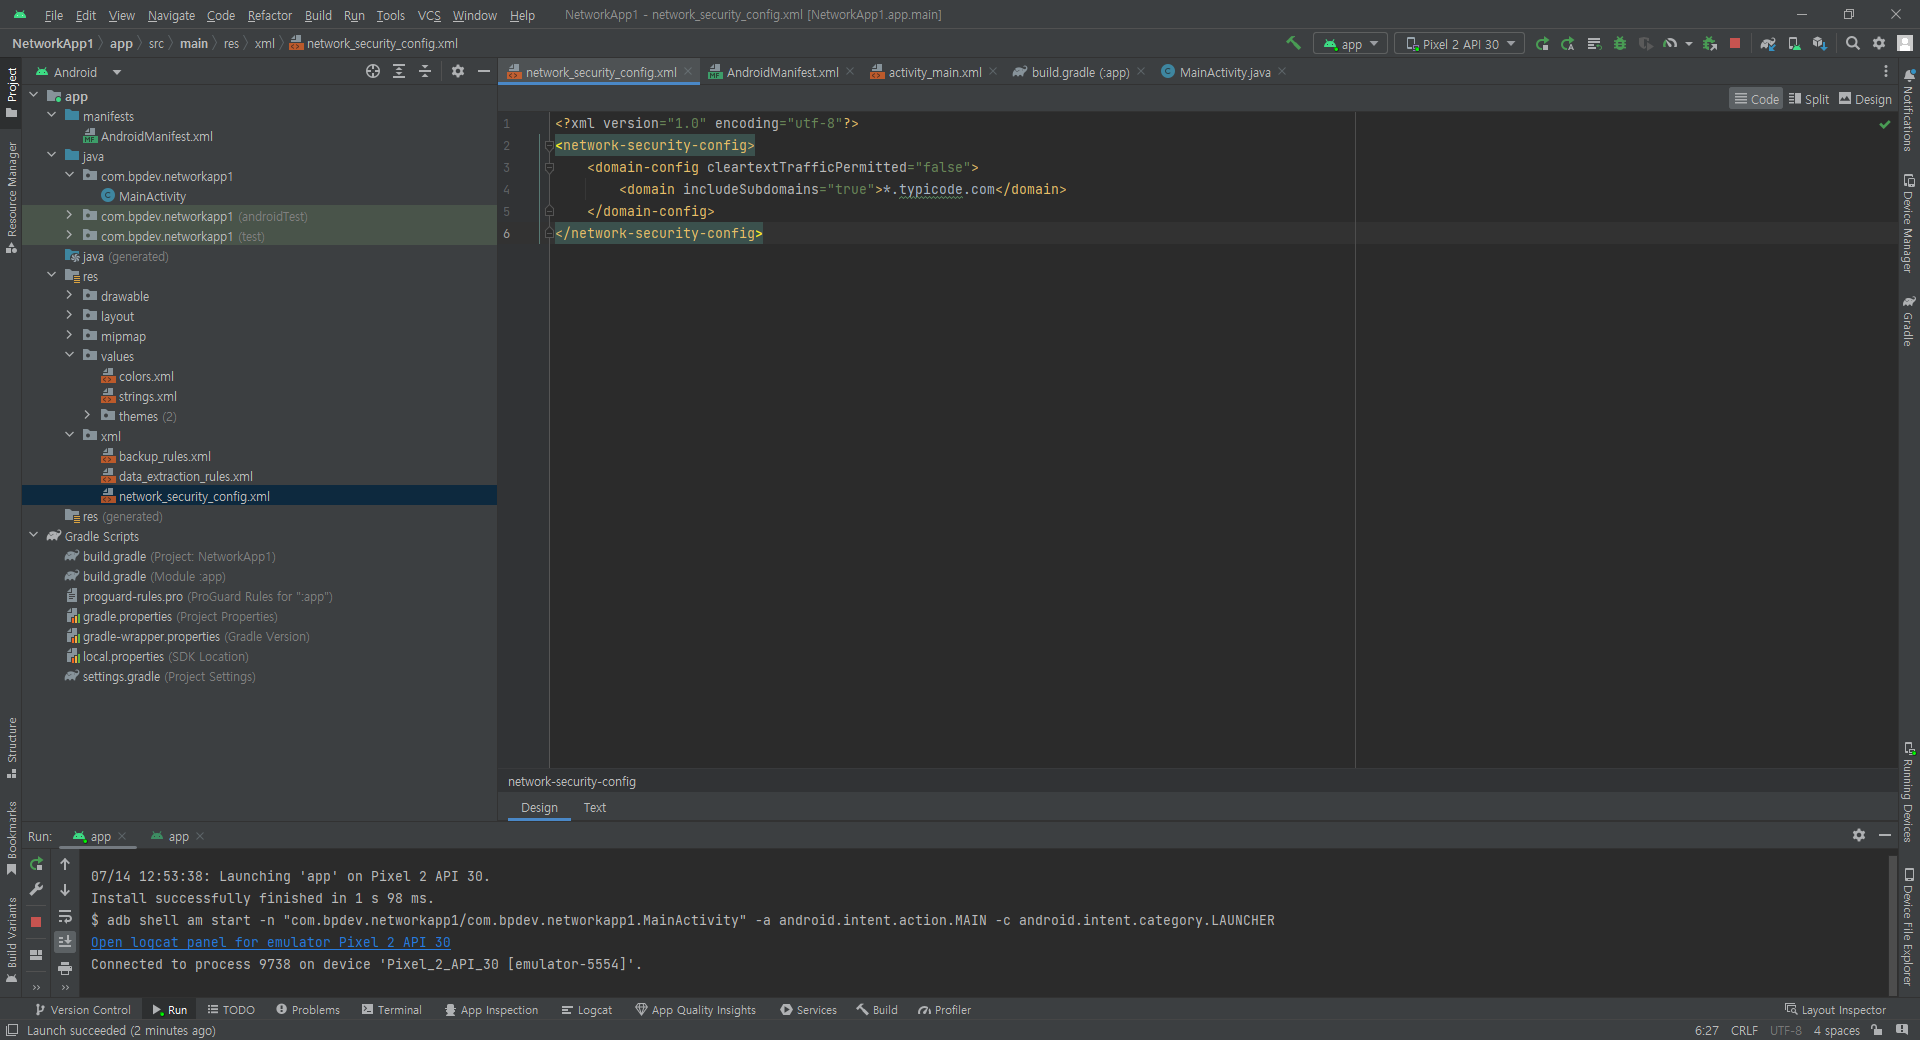
안드로이드 스튜디오에서 실제 폰등의 기기가 아니라
에뮬레이터를 사용해 네트워크 통신 테스트를 할 경우,
네트워크 통신이 가능하도록 몇 가지 설정을 해 주어야 한다.
1. res/xml폴더 안에 network_security_config.xml 생성

<?xml version="1.0" encoding="utf-8"?>
<network-security-config>
    <domain-config cleartextTrafficPermitted="false">
        <domain includeSubdomains="true">*.typicode.com</domain>
    </domain-config>
</network-security-config>
typicode.com은 테스트 데이터를 제공해주는 사이트.
이 사이트로부터 오는 것은 다 허용해달라고 설정해 준다.
JSONPlaceholder - Free Fake REST API (typicode.com)
JSONPlaceholder - Free Fake REST API
{JSON} Placeholder Free fake API for testing and prototyping. Powered by JSON Server + LowDB. Tested with XV. Serving ~2 billion requests each month.
jsonplaceholder.typicode.com
2. 권한 설정
인터넷 사용 권한 등 다양한 권한 설정들은 app / manifest / AndroidManifest.xml에서 해 준다.
<?xml version="1.0" encoding="utf-8"?>
<manifest xmlns:android="http://schemas.android.com/apk/res/android"
    xmlns:tools="http://schemas.android.com/tools"
    android:targetSandboxVersion="1">
    <!-- 1. 인터넷 권한 설정 -->
    <uses-permission android:name="android.permission.INTERNET" />

    <application
        android:allowBackup="true"
        android:dataExtractionRules="@xml/data_extraction_rules"
        android:fullBackupContent="@xml/backup_rules"
        android:icon="@mipmap/ic_launcher"
        android:label="@string/app_name"
        android:networkSecurityConfig="@xml/network_security_config"
        android:roundIcon="@mipmap/ic_launcher_round"
        android:supportsRtl="true"
        android:theme="@style/Theme.NetworkApp1"
        android:usesCleartextTraffic="true"
        tools:targetApi="31">
        <activity
            android:name=".MainActivity"
            android:exported="true">
            <intent-filter>
                <action android:name="android.intent.action.MAIN" />

                <category android:name="android.intent.category.LAUNCHER" />
            </intent-filter>
        </activity>
    </application>

</manifest>
<manifest 에서
android:targetSandboxVersion="1" // 추가
<manifest></manifest> 사이에서
<!-- 1. 인터넷 권한 설정 -->
<uses-permission android:name="android.permission.INTERNET"/> // 추가
<manifest></manifest> 사이의 <application 에서
android:usesCleartextTraffic="true" // 추가
android:networkSecurityConfig="@xml/network_security_config" // 추가
※ Volley 설치
다시 정리하겠지만 네트워크 통신을 위한 Volley 설치는 아래를 참고하자.
Gradle Sccripts의 build.gradle (Module :app), dependencies에 아래 라인을 추가하고 sync now 글자를 눌러준다.
implementation 'com.android.volley:volley:1.2.1'
Volley overview | Volley (google.github.io)
Volley overview
Volley overview Volley is an HTTP library that makes networking for Android apps easier and most importantly, faster. Volley is available on GitHub. Volley offers the following benefits: Automatic scheduling of network requests. Multiple concurrent network
google.github.io
